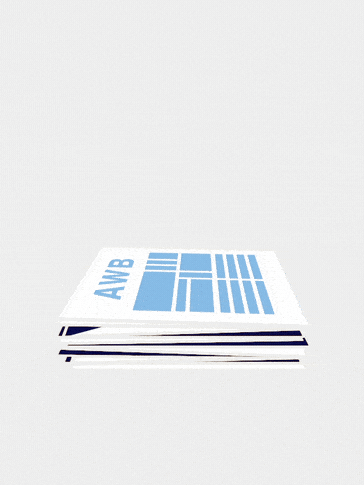
AE Box Template - Free After Effects & Premiere File
Version 1.1 (Dropbox-Link)

I love expressions in After Effects! It is a mighty playground for changing properties, doing animations or using the power of Math to achieve your task faster. I can't ensure you enough to give it a try and learn it. Don't be afraid! The community is big and there is a lot of copy and paste you can do, once you understood the underlaying basics.
This file started as a more basic version for a client project I have been working on. After the finished film, I decided this template could be worth sharing with the community. So I started cleaning it up, making it more user-friendly and added a lot more features. Go on, and mess around with it. Have fun!
I highly recommend reading the introduction and the manual description written below ^^

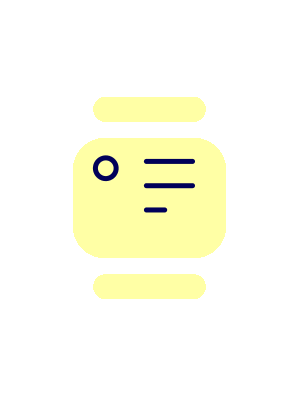
Not a single keyframe is used. Make changes everywhere from inside the 'Essential Graphics'-Panel. Every editable property is driven by expressions. Customise the appearance and animation of the box to your needs!
You can change the start/end-point, duration, height, widths, colors and many things more from inside the 'Essential Graphics'-Panel. There is no need to go inside the Box-Comp itself.
Requirements
To use the Essential Graphics-Window you need to have After Effects CC 14.2 or newer installed. Note: You still can use and change everything without this panel, but it will be a lot more fiddly. I use the newest AE-Version, but there will be a Folder with the file for older versions of AE.

Import the File into your existing project?
1. Import the AE-File from the project window inside AE.
2. (Not necessary but reccomended) Rename the 'Box Template'-comp to your liking with a unique name.
3. Place the 'Box Template'-comp into your project.
4. Open the Essential Graphics-Panel.
5. From the Pulldown-Menue 'Master' you now choose the Box-Template you want to change. There is no need to go into the composition itself.
6. Change the settings to whatever you want.
7. That's it. Have fun!
Inside the Essential Graphics-Panel are different groups within different slider/color or checkbox-controls. Most of it is self explanatory, I guess. But to be sure, I will say a few words ^^
General - Set values for colors, shadows and textures. F.e. turn the shadows off if you don't want them.
Animate ...? - If you turn this off for any of the groups, it will not be animated and just use the 'End ...'-values.
Anchor Left? - This is for the width only. If turned on, the width scales up from the left to the right side. If turned of, the other way around.
Start ... - This value defines the value of this specific property before the animation starts.
End ... - This value defines the final value of this specific property (at the end animation).
Starttime (s/100) - Defines the beginnig of the animation for this specific property in seconds devided by 100. So with a value of 63, the animation starts at 0.63 seconds. This had been done for easier controlling. Otherwise you would have to enter decimal numbers without a slider.
Duration (s/100) - Defines the duration of the animation. This is calculated from the previous defined Starttime, not from zero. F.e. with a Starttime of 60 and a duration of 100, the animation starts at 0.6 and ends at 1.6 seconds.
Easing - Here you can choose if you want EaseIn (1), EaseOut (2) or EaseInOut (3) for this specific property.
Save animation as a preset
It is possible to save all your settings for a box as a AE-Preset and apply it later to a box in the same or another project. Which is a great feature of After Effects, right! But I have to warn you. Be careful and know what you are doing, otherwise you will end with a mess.
To do so, you unlock the 'Box Ctrl'-Layer inside the Box-Comp. Highlight this layer and go to the 'Effect Control'-Panel. (If it is not open yet, you can do so by going to the Menue 'Window' and click on 'Effects Control'.)
Inside this panel you click on anyone of the effects. Try to hit the Name of a effect. Otherwise you risk to change a value by mistake. Afterwards you hit CMD+A on a Mac or CTRL+A on a windows machine. Now every effect of the 'Box Ctrl'-Layer should be highlighted. If not repeat the steps again. If so, click on the Menue 'Animation' > 'Save Animation Preset'. In the new opened window choose a folder of your liking and hit 'Save'. Thats it!
Load presets with predefined animations
Pretty much the same way as saving the preset. Highlight the 'Box Ctrl'-Layer. Highlight all effects inside the 'Effects Control'-Panel. Click on 'Animation' > 'Load Animation Preset'. Choose the preset you saved earlier and hit Load. Voila - After Effects Magic! ^^
How to duplicate/copy the Box?
Inside the Box-Composition are also compositions for textures and individual content. If you want to duplicate a unique Box I recommend using 'True Comp Duplicater'. This tool makes a unique copy by duplicating all related Compositions.
What if I just duplicate the main 'Box-Comp'?
The compositions inside the Box-Comp remain the same. If you change anything inside f.e. the 'Your Content'-Comp, I will also be change in the 'Box-Comp' you copied this one from. This could be good, if this is your goal!
That's all. I hope you have fun with it!
Cheers
Cheers